
This file from The Silhouette Design Store was chosen not because it is unique, or even because I needed it in any of my projects, but because I want to show how easy it is to create a file like this.
The 8 step evaluation for the Feather Set by Miss Kate Cuttables Design ID #55826 is at the bottom of this post for those of you interested, and a short summary of the project is first, then two ways to create your own feather file: 1. by using Oval shape tools in Silhouette design space 2. by tracing a free image. Don’t forget to get the free file with the 3 feathers I made!
Short Project Summary:
Feather Set project got an overall score of 47 (no Tutorial) out of 48. The total time was about 10 minutes. Most importantly, the question is, would I make this again? Yes. Is this project versatile? It is just a feather, but I can see this used in scrapbooks, cards, banners, decorations, etc. Materials used: different colour cardstock of choice, Glue, Silhouette CAMEO®. The pieces were few and easy to layout on the mat. TIP: use a screen shot of the finished project, import it to your work space on Silhouette to help you visualize the final projects. As always I filled in the pieces with the same colour as the paper I will use as it helps to keep me organized. There were no tutorial links on The Silhouette Design Store or on the designers website but I followed the photo, it is very straight forward and it turned out great. This project can be done by younger kids. This file was $0.69 from The Silhouette Design Store on sale, regularly $0.99. Other similar feathers are $.99 so it help to get it on sale. Check out the designers own website to purchase for $.50 and get the freebie flying unicorn if you are lucky.
This is what the file looked like when opened. I always take a screen shot of finished file and use to help me cut.
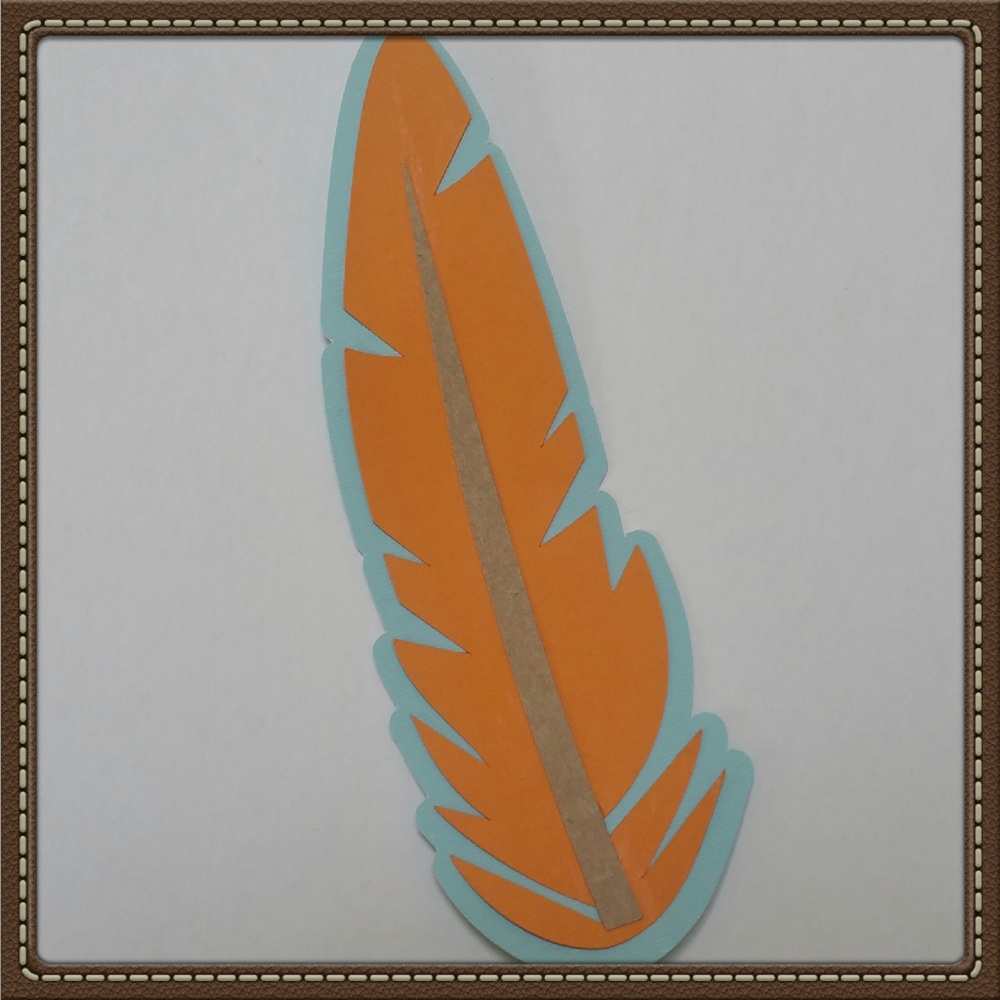
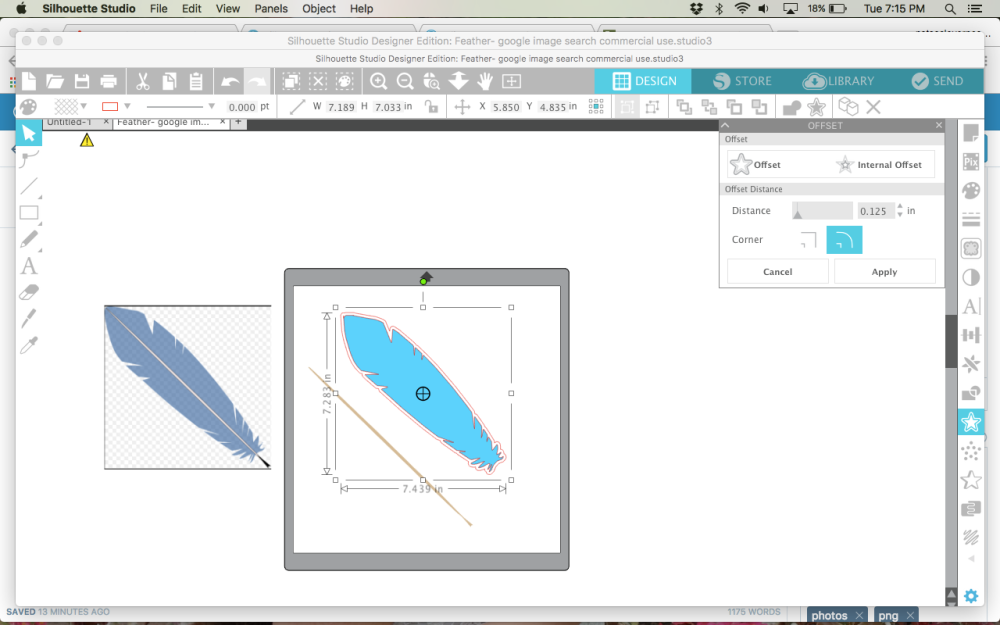
Finished feather, I created a matting for the feather myself using the offset tool, as I was not sure which one in the file matched:
To create a similar file my two methods are below:
Easy example first:
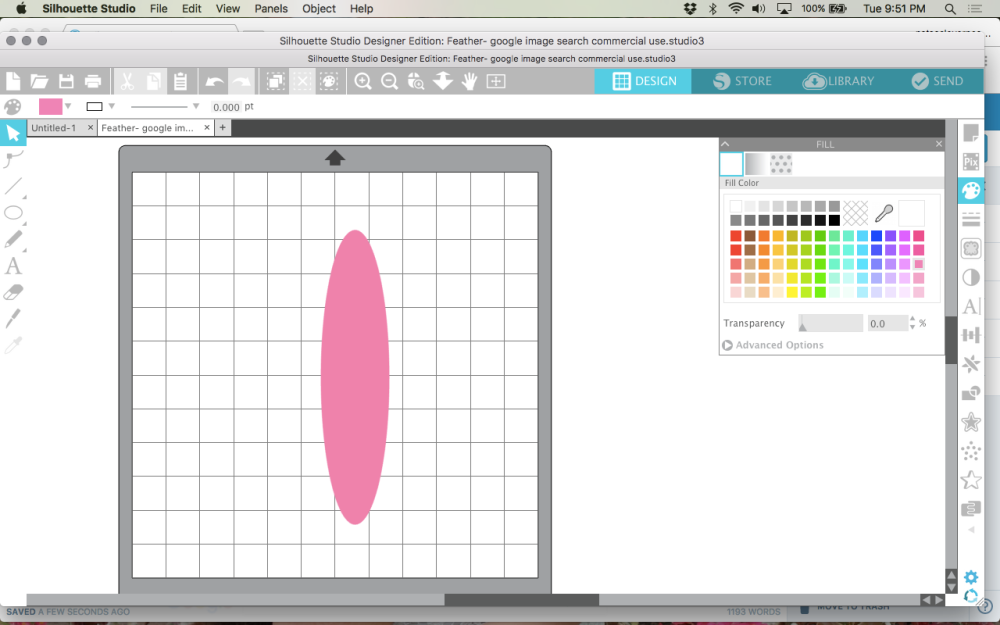
- In Silhouette design studio select the shape tool and draw an ellipse shape. I added colour as it is easier to work with.
- Next you double click the image so that the edit points show.
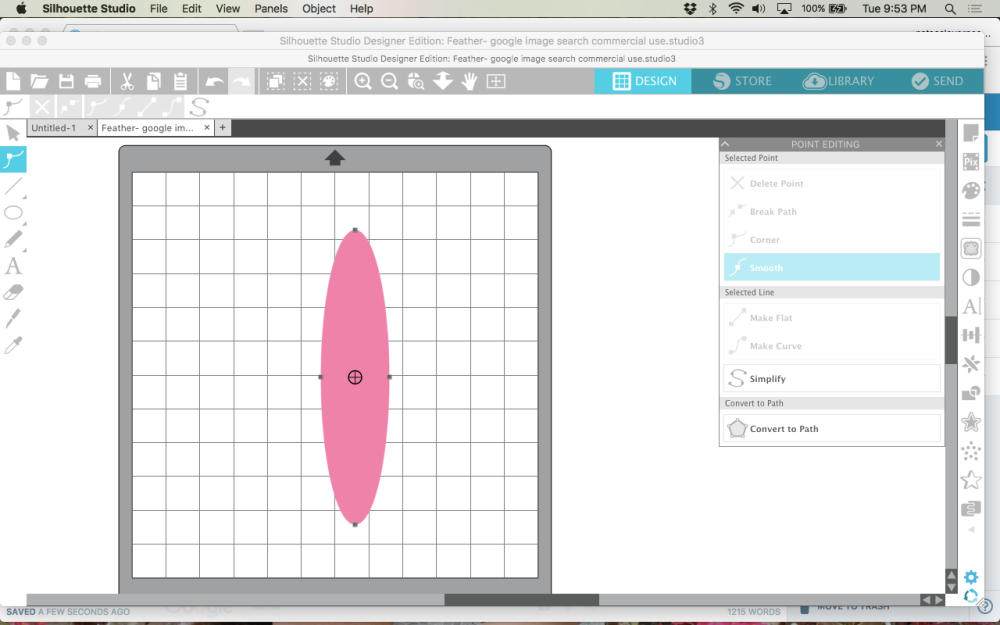
- Now it is a matter of dragging the edit points till you get the feather shape you want.
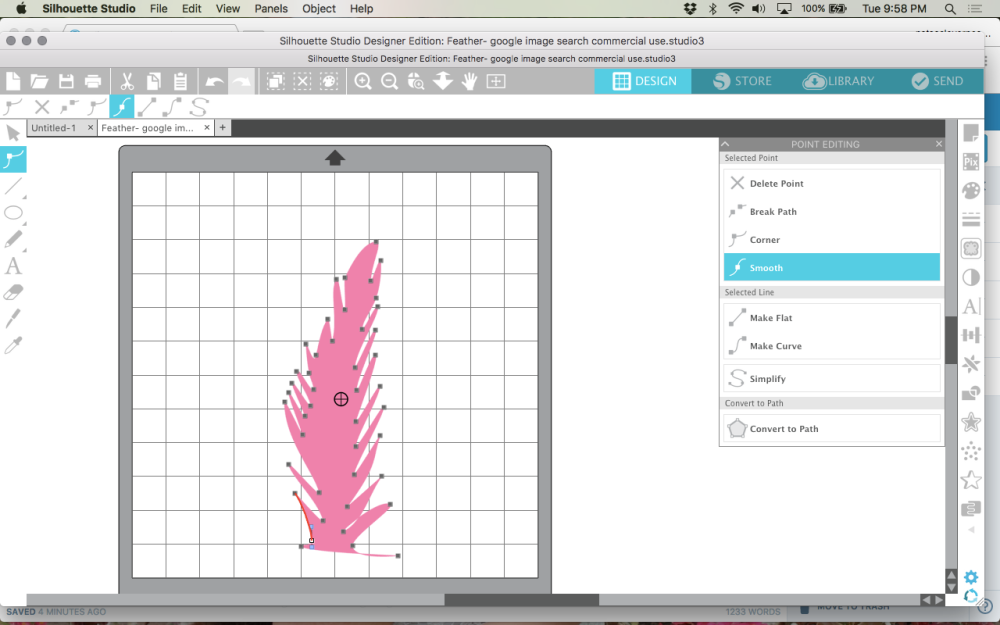
- Now I am going to neaten up the points a little by readjusting the edit points. then draw a narrow oval for the rib. last I will use the offset tool to get a background matting.
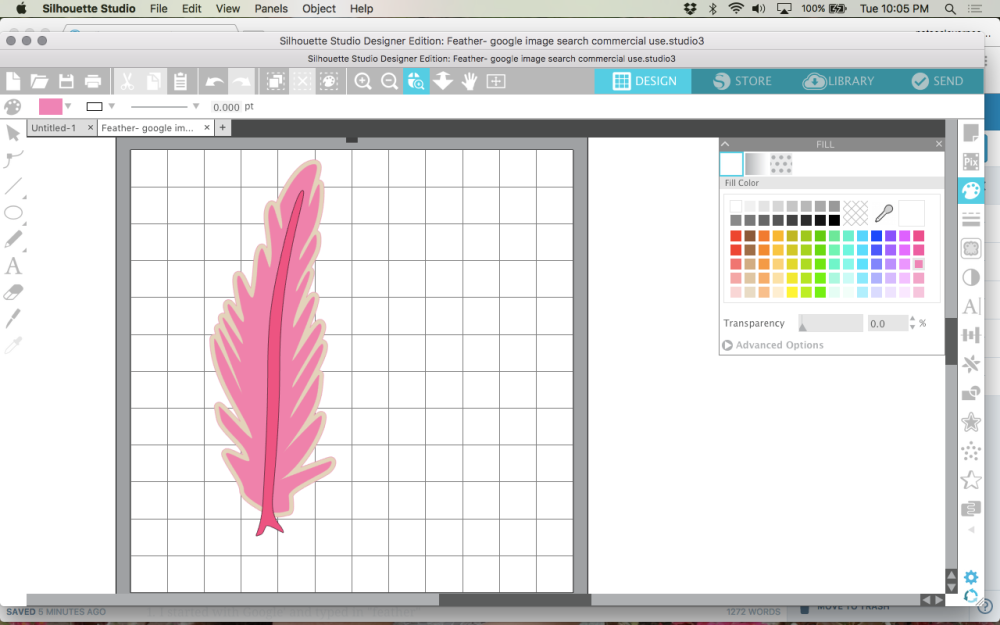
- This is the finished item in Silhouette Design Space
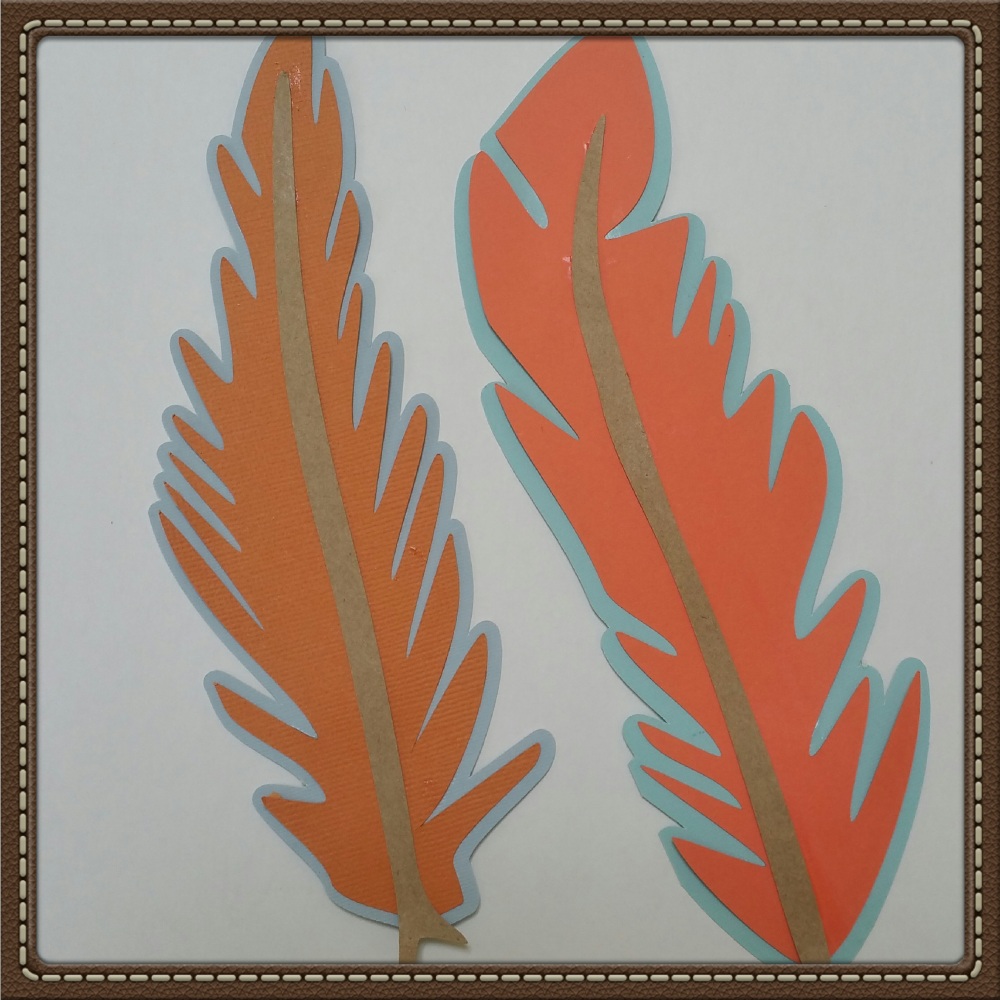
This is the item cut and glued. I made two feathers in a matter of minutes using this method:
Second method, Tracing an image:
Now here is the slighter harder method. If you don’t like messing with edit points and pulling and dragging them to obtain the perfect shape, then you will like the tracing image method.
- I started with Google’ and typed in “feather”
- Then I chose to view only images
- Under the tool setting, I chose usage rights.

- Next choose under usage rights, labeled for reuse.
- Choose any of the images you like but it helps to have an image that is clean with sharp edges and no shadows. try for a PNG also.
- I chose this one:
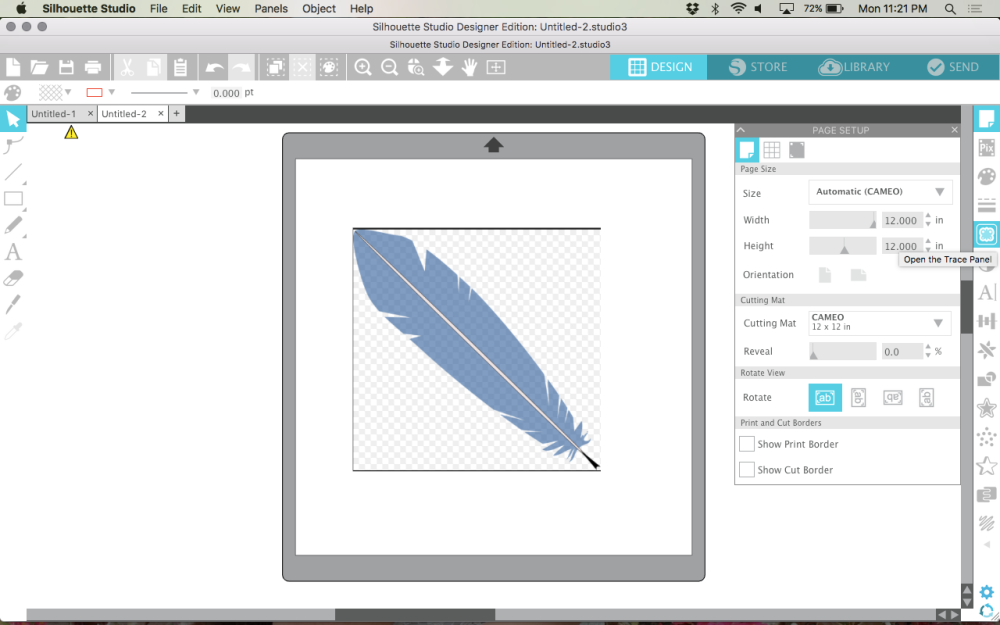
 and took a screenshot. The dark lines that form the boarder will mess up your trace but it is not so hard to clean up. If you put this image through a background clean up like burner bonanza it will be even better. I did not do so for this project.
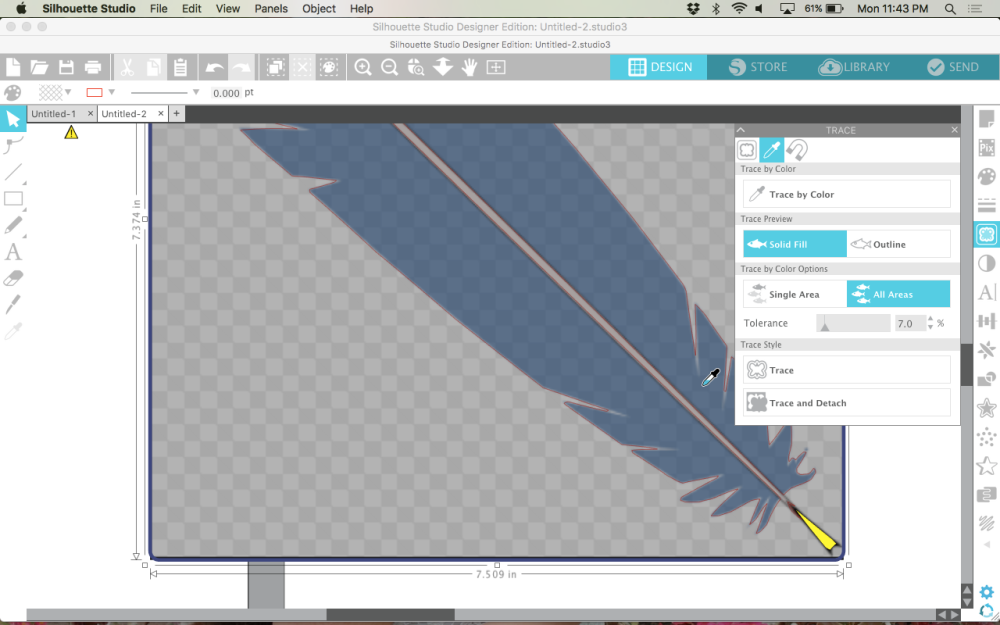
 - Next I open Silhouette design space and dropped my screenshot of the feather onto the work mat and enlarged it so I can start tracing the image.
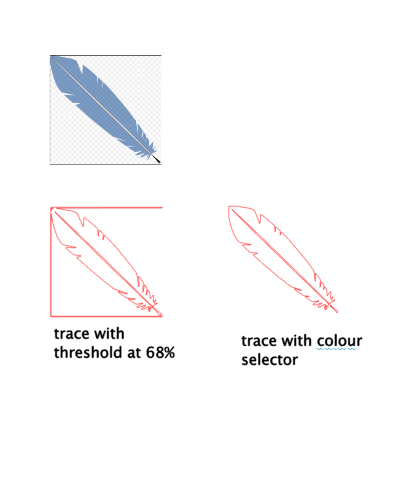
- Tracing can be a little tricky, but play around with it and it normally works well. Two ways to trace, 1. just trace the whole feather, I got a good trace at about 68% threshold.
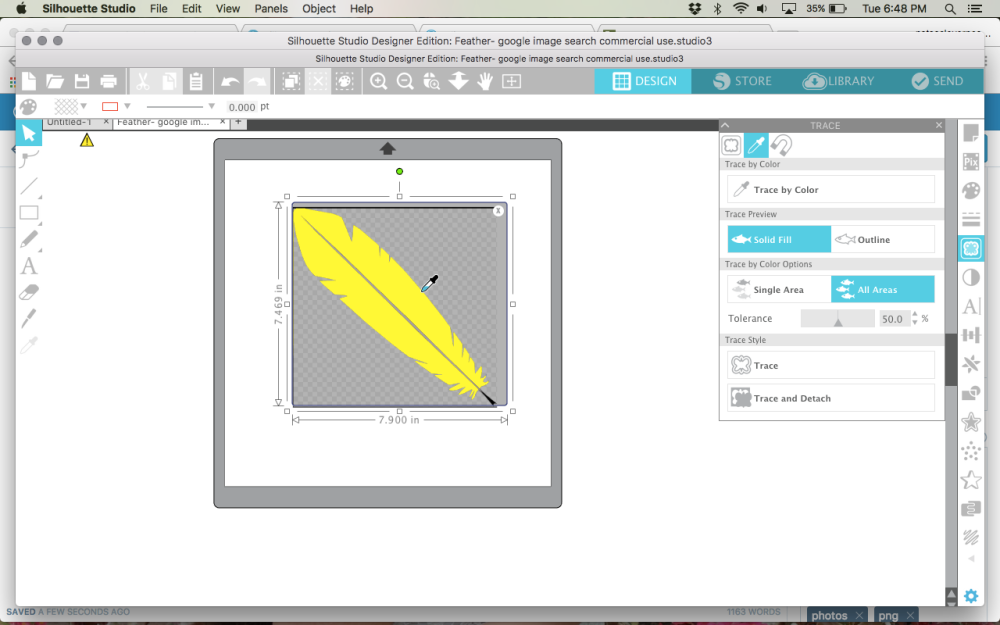
- second type of trace if you are using Silhouette designer edition version 4 then trace by colour gives you an easy trace. Do the trace twice, once for blue then one for black with a tolerance of about 10. This will allow the image to be traced without the extra line from the border. Both methods will need some clean up.
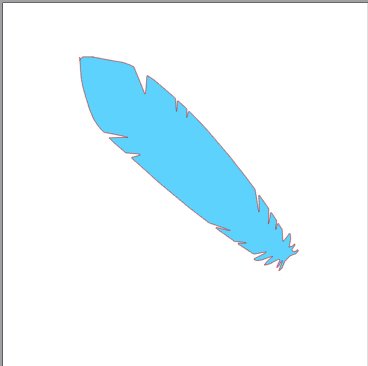
- Notice both trace images need cleaning up. The one traced with colour selection tool needs less so lets use that one:
- I select the entire image I traced by colour and choose make compound path. Then click twice on the image to get edit points and extend the bottom of the feather until it looks good.
- I also use the feature “break path” to rejoin the line where I want it. This image is ready for cutting.
 click twice to select the edit points
 I used the break path and rejoined ends
 - Finished!!!
WE can do more: Because I want to show how this file can be like Miss Kate Cuttable with 3 separate pieces. A background, a feather and a centre piece of the feather I will call the “Rib” here is what I did:
- To do this lets back up to where we traced the feather using the colour selecting tool. This time, we will only trace blue.
- Next use the erase tool and erase the Rib of the feather.
- Next we will trace just the rib of the feather. A threshold of 59 seems to be the best setting.

- Using the image of the feather with the rib erased, use offset tool.
- layered feather
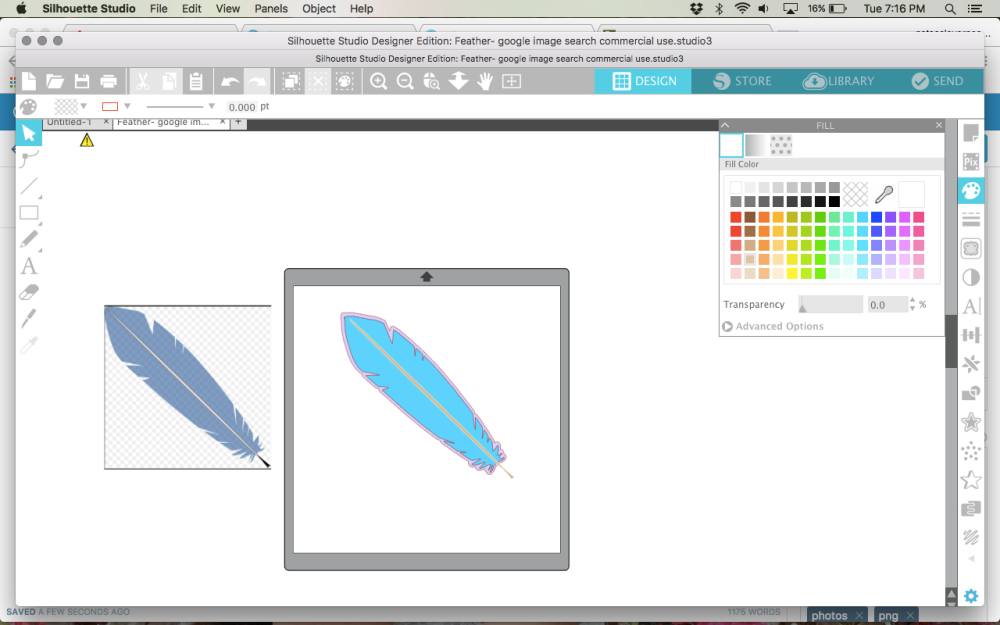
- finished.
- cut in colours you desire.
Here is my finished feather:

REVIEW
Step by step Review: based on the 8 points that seem to capture what a crafter would want to know
Price of downloading the file
- Free to $.99
- $.99 to $2.99
- $2.99 to $4.99
- $4.99 to $6. 99
- $6.99 to $8.99
- $8.99 0r more
This file was $0.99 a score of 6 out of 6
Open file
- Layout when opened was super simple and I knew what to do
- Looked at layout and was confused so visited blog, video, website
- Looked at file, had no idea what I was seeing, no information to be found to help!
Layout when opened was super simple and I knew what to do. As always I coloured in the pieces to keep me organized. This got a 6 out of 6 for open file category.
Cutting the file
- Had no difficulties cutting this file
- Had some difficulties cutting this file
- Had tons of headache cutting this file
Had no difficulties cutting this file “cutting the file” step gets a 6 out of 6
Easy to construct?
- so easy a young kid can do this
- medium difficulty if you and not too crafty you can still achieve a good result
- Hard: you need to really know what you are doing and have been crafting most of your life.
So easy a young kid can do this: No instruction except for the photo as a guide. No tutorial so lost points … I give this a easy rating of 5 out of 6.
Needed extra items
- I had to add extra items to finish this project for example string, grommets, rhinestones etc.
- I could add if I wanted to.
- did not have to add anything other than the paper
did not have to add anything other than the paper: 6 out of 6
Finished product
- looked exactly like the photo online
- sort of looked the same
- No Way did this turn out the same.
Looked exactly like the photo online . This gets a 6 out of 6
Recommend the file/ designer
- I would recommend this file and designer to anyone
- I would not recommend the file or designer to anyone
- I would recommend the file
- I would recommend the designer
I will recommend this file and designer to anyone and give it a 6 out of 6.
The overall cost for the project was
- Under $5.00
- Under $10
- Over $10
I give “the overall cost for the project” a 6 out of 6 since it was under $5.00 to complete this project:
- 1 sheet of 8.5 in x 11 in dark pink Cardstock paper
- 5 sheet 8.5 in. x 11 in. white cardstock
- half sheet8.5 in. x 11 in. green cardstock
- scrap piece light pink 2in. x 2 in.
- Glue
- My Silhouette CAMEO® machine.
My over all score for this project is 47 out of 48.
Carolyn
On behalf of Not So Clever People

This looks awesome! I love reading about the process of creating the feather. So interesting!
LikeLiked by 1 person